

Welcome to your guide on setting up the La Crosse Technology projection clock. This clock is known for its accuracy and features, perfect for any room.
The model 616-146 has radio-controlled atomic time accuracy. This means it automatically syncs with the official time. You won’t have to adjust it for daylight saving or time zone changes.
This device also monitors the environment. It shows both indoor and outdoor temperature readings. This gives you a quick view of the climate.
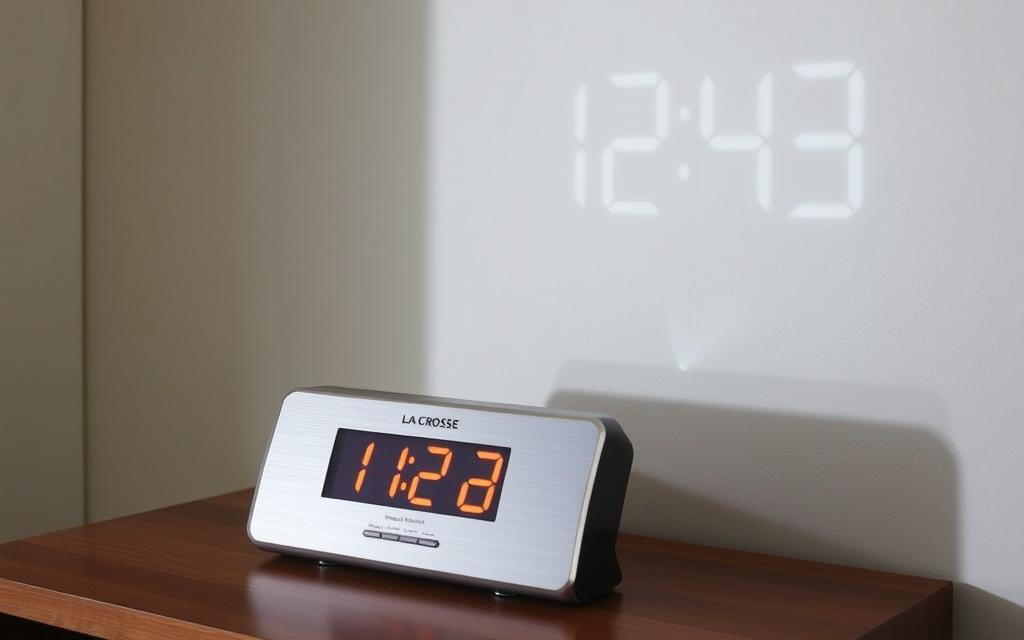
The clock’s projection feature displays time on your ceiling or wall. It’s easy to see from anywhere in the room. Plus, it has a USB port for charging your devices.
Setting it up right is key for the best performance. Follow our easy steps to get your clock working perfectly.
Understanding Your La Crosse Technology Projection Clock
Before you start setting it up, get to know your La Crosse projection clock. It’s more than just a timepiece. It’s a blend of practical timekeeping and advanced environmental monitoring.
Key Components and Display Features
The main unit has a colourful LCD display. It shows time, date, and indoor and outdoor temperatures. The temperature arrows tell you if it’s going up or down.
The clock has several parts that make it work. The adjustable lens lets you project the time on walls or ceilings. The buttons are easy to use:
Related Posts:
- Key Attributes Driving Mobile Technology Adoption Worldwide

- What Is Connected Car Technology Smart Vehicle…

- What Is Quantum Flame Technology A Look at Advanced Systems

- Is It Safe to Uninstall Intel Rapid Storage…

- The Important Role of Advanced Farming Technologies…

- How Engineers Use Technology Tools for Design and Innovation

- SET/°C/°F for setting and choosing temperature units
- ALARM for setting alarms
- +/TEMP for scrolling through temperature
- -/TIME for adjusting time
- PROJECTION for turning on projection
- SNOOZE/LIGHT for alarm and light settings
A USB port adds extra power options. The outdoor transmitter sends temperature data to the main unit up to 100 feet away.
The atomic time reception feature keeps your clock accurate. It syncs with the US time signal automatically. You’ll see a special icon when it’s connected.
Knowing about the projection clock components and display features helps you use it fully. The atomic time reception makes it stand out, giving you precise timekeeping.
Initial Power Setup and Basic Configuration
Before you can enjoy your La Crosse Technology projection clock, you need to set up a reliable power source. This guide will help you set up power using AC and battery options. This way, your clock will work well from the start.
Inserting Batteries and AC Power Connection
Your projection clock has flexible power options for constant use. For battery power, you’ll need two AAA batteries (not included). Find the battery compartment on the clock’s back and remove the cover carefully.
Put the batteries in the right way, following the + and – markings inside. Wrong polarity can harm the clock. Always use batteries of the same type and brand for best results.
For AC power, use the included 5V adapter. First, plug the adapter into a wall outlet. Then, connect the DC plug to the clock’s power port. The AC connection gives constant power and charges the backup batteries.

For more details on power needs and safety, check the technical guide from the manufacturer.
Powering On and Initial Display Check
After setting up your power choice, press the power button on the clock. The display should light up, showing the time and indoor temperature.
Watch the display for any error messages or strange signs. The projection might start, showing time on your ceiling or wall. This means all parts of the clock are working.
If the display is blank, check the battery orientation or the AC adapter connection. Most models have a power light that shows if it’s working.
| Power Method | Advantages | Considerations |
|---|---|---|
| AC Adapter | Continuous power, keeps settings during outages | Needs an outlet nearby, uses little electricity |
| AAA Batteries | Portable, works during power failures | Needs regular replacement, not included |
| Dual Power (Both) | Best reliability, switches automatically during outages | Best for uninterrupted use |
Getting your clock’s power set up right means it will keep accurate time and save your settings. This step is key for the detailed setup in the next sections.
How to Set La Crosse Technology Projection Clock: Time and Date
Getting the right time is key for your projection clock. This guide will show you how to set the time and date automatically or manually.
Setting Current Time with Time Zone Adjustment
Your La Crosse clock can sync up in two ways. For automatic syncing, make sure you’re near the WWVB signal transmitter. It will sync up within 24 hours after you turn it on.
To set the time manually, press and hold the SET button for three seconds. This opens the programming menu where you can set all time-related options.
The first step is to adjust the time zone. Use the +/- buttons to find your region’s time zone. Common ones in America include:
- EST – Eastern Standard Time
- CST – Central Standard Time
- MST – Mountain Standard Time
- PST – Pacific Standard Time
Next, decide on Daylight Saving Time. Choose DST ON for automatic changes or DST OFF for manual control all year.
Then, pick your time format. The 12-hour format shows AM/PM, while the 24-hour format uses military time. Use the +/- buttons to switch between them.
Set the exact hour and minutes last. The digit you’re adjusting will blink. Press SET to move to the next time element once it’s set.
Configuring Date and Calendar Display
After setting the time, move on to the calendar. The menu will automatically go to date settings after you confirm the time.
Start with the year. Use the +/- buttons to enter years from 2000 to 2039. Press SET to confirm and move to month selection.
Scroll through months until you find the current one. The display shows both numbers and letters for verification.
Finish by selecting the correct calendar date. The clock adjusts for month lengths to avoid invalid dates.
Your clock will now show time and date together. The projection feature will display this on your ceiling or wall.
| Configuration Step | Button Sequence | Visual Indicator |
|---|---|---|
| Enter Settings Menu | Hold SET 3 seconds | Time zone flashes |
| Select Time Zone | +/- buttons | Zone abbreviation displays |
| Set DST Preference | +/- buttons | DST ON/OFF shows |
| Choose Time Format | +/- buttons | 12H/24H indicator |
| Confirm Settings | Press SET | Next setting flashes |
Remember to press SET after each step. The clock will save your settings and exit programming mode after 15 seconds of no activity.
If you live in an area with weak atomic signals, setting the time manually is best. Regular checks against reliable sources keep your clock accurate.
Projection System Setup and Alignment
After setting the time and date on your La Crosse Technology projection clock, you can tweak its projection settings. This guide will help you align the lens, adjust the focus, and pick the right projection mode for the best view.
Positioning and Aligning the Projection Lens
The projection arm can rotate 180 degrees. This lets you project onto walls or ceilings. Just rotate the arm until the projection hits your chosen surface.
Press the PROJECTION button to rotate the image 90 degrees each time. This makes numbers line up right on odd-shaped surfaces.

Adjusting Focus and Projection Orientation
Adjust the focus by turning the lens barrel until numbers are clear. For light control, press the SNOOZE/LIGHT button to change brightness levels.
Hold the PROJECTION button to switch between projection modes:
- Alternating time and temperature
- Time only display
- Temperature only display
| Projection Feature | Control Method | Adjustment Range |
|---|---|---|
| Image Rotation | PROJECTION button (single press) | 90° increments |
| Projection Mode | PROJECTION button (hold) | 3 display options |
| Brightness Level | SNOOZE/LIGHT button | Multiple intensity settings |
Try out different projection alignment options to see what works best for your space. The flexibility ensures clear visibility from all angles and distances.
Configuring Alarm Settings and Additional Features
Your La Crosse Technology projection clock does more than just tell time. It has features you can customise to fit your needs. By adjusting your alarm settings and display, it becomes a perfect fit for your space.
Setting Multiple Alarms and Snooze Preferences
Changing your alarm is easy with the simple buttons. Here’s how to set your wake-up time:
- Press and hold the ALARM button until the hour digits start flashing
- Adjust the hour with +/- buttons and press ALARM to save
- The minute digits will flash – adjust with +/- buttons and press ALARM again
- Press ALARM once more to turn the alarm on or off
The snooze function gives you a break when you need it. Just press SNOOZE when the alarm goes off. It pauses for nine minutes before waking you again. You can use it over and over until you’re ready to wake up.
Temperature Display and Units Configuration
Your clock also shows the temperature. You can choose to see it in Fahrenheit or Celsius.
To switch between temperature units, press the SET/°C/°F button. Each press changes the display to the other unit. This lets you pick the one you prefer.
Some models also show trend arrows. These arrows tell you if the temperature is going up, down, or staying the same. This helps you quickly see if the temperature is changing in your area.
Troubleshooting Common Setup Issues
If your La Crosse clock isn’t working right, these steps can fix it. Many problems have simple solutions that don’t need tech skills.

Resolving Projection Display Problems
Most projection issues come from power, settings, or alignment. First, make sure your power source works. Check both battery freshness and AC adapter connection.
Use the control button to adjust the projection intensity. Sometimes, the image looks dim because the setting is too low. Slowly rotate the lens while watching the image on your ceiling or wall.
Make sure the clock is on a stable, level surface. Even a little tilt can mess up the image. The lens should face your surface directly without any blocks.
| Problem | Possible Cause | Solution |
|---|---|---|
| No projection | Low power or intensity setting | Check batteries/adapter, increase intensity |
| Blurry image | Improper focus | Rotate lens slowly until clear |
| Upside-down text | Incorrect orientation | Reposition clock or use rotation feature |
| Fading projection | Weak batteries | Replace all batteries simultaneously |
Fixing Time and Date Reset Issues
Frequent time reset issues often mean power problems. Even with AC power, fresh backup batteries keep settings during outages.
Check your WWVB signal by pressing the signal button. The clock should show signal strength bars. Poor reception can cause time reset issues and wrong time.
For best time syncing, place the clock near a window facing Colorado, USA. Avoid areas with electronic interference like routers or microwaves.
If outdoor temperature isn’t showing, re-sync the transmitter. Hold the +/TEMP button for three seconds. Or press the TX button on the transmitter unit itself.
Make sure the transmitter and clock are within 200 feet without big blocks. Walls, metal, and large appliances can block the signal.
For ongoing signal reception problems, try moving the clock or transmitter. Fresh batteries in both units often fix transmission issues.
Conclusion
Setting up your La Crosse Technology Projection Clock right is key. It helps keep time accurate and works well. Following the advice given will keep it working for a long time.
Looking after your batteries is important. Use new batteries and don’t mix types to keep power steady. Also, place the transmitter in a shaded spot for best results.
Keeping your clock clean is easy. Just use a damp cloth and make sure it’s dry. Registering your product also means you can get help if you need it.
By sticking to these tips, your clock will keep precise time. You’ll get to enjoy all its features for a long time.
FAQ
How do I set the time and date on my La Crosse Technology Projection Clock?
To set the time and date, press and hold the ‘SET’ button until the time zone flashes. Use the ‘+’ and ‘–’ buttons to pick your time zone. Then, press ‘SET’ again to set hours, minutes, year, month, and day.
Confirm each setting by pressing ‘SET’. For automatic time updates, place the clock in a good signal area. It will update itself overnight.
Why is the projection not working or unclear?
If the projection is not working, first check the projection arm. Make sure it’s fully extended and aligned. Adjust the focus wheel until the image is sharp.
Place the clock on a stable surface and check for obstructions. Also, adjust the brightness setting in the clock’s menu.
How do I switch between Celsius and Fahrenheit for the temperature display?
To change the temperature unit, press and hold the ‘TEMP’ button for three seconds. The display will switch between Celsius (°C) and Fahrenheit (°F). Release the button when you see your preferred unit.
What should I do if the outdoor temperature is not displaying?
If the outdoor temperature is not showing, first check the batteries in the outdoor sensor. Make sure they are correctly inserted with the right polarity. Check that the sensor is within range of the clock (up to 30 metres unobstructed).
Also, avoid interference from electronic devices. You may need to re-sync the sensor by pressing the ‘RX’ button on the clock.
How can I improve atomic time signal reception?
To enhance atomic time signal reception, place the clock near a window facing Rugby, UK. Avoid metal obstructions and electronic interference. Reception is best overnight.
If the signal icon does not show full bars, try moving the clock to a different location. Or manually initiate a signal search via the settings menu.
How do I set multiple alarms on the La Crosse Projection Clock?
To set alarms, press the ‘ALARM’ button to cycle through alarm 1, alarm 2, and so on. Hold the ‘SET’ button to enter the alarm setting mode for the selected alarm. Use the ‘+’ and ‘–’ buttons to adjust the time, and press ‘SET’ to confirm.
You can enable or disable each alarm by pressing the ‘ALARM’ button again when the alarm is selected.
Why does the time or date keep resetting?
If the time or date resets frequently, check the AC power connection or replace the backup batteries. Ensure batteries are fresh and inserted with the correct polarity. Avoid mixing old and new batteries or different types.
If the issue persists, there may be a power interruption or a fault with the internal memory. Consider resetting the clock to factory settings as a last resort.
How do I adjust the projection orientation or rotate the image?
To rotate the projected image, gently twist the projection lens housing until the text is oriented correctly on your ceiling or wall. Most La Crosse projection clocks allow for 180-degree rotation. Ensure the clock is placed on a level surface for the best results.
Can I use both AC power and batteries simultaneously?
Yes, the La Crosse Projection Clock supports dual power sources. It is recommended to use the AC adapter for primary power and install backup batteries to maintain settings during power outages. Always use batteries of the same type and brand, and ensure they are inserted with the correct polarity to avoid damage.
How do I interpret the temperature trend arrows?
The upward arrow indicates that the temperature is rising, the downward arrow shows it is falling, and no arrow means the temperature is stable. These trends help you anticipate changes in indoor or outdoor conditions. They are based on readings taken over the previous hour.
